There are several ways to create a new page in your site. For the purposes of this instruction we will talk about the most common way to do so. Unlike when you are making changes to an existing page, you will need to be in the backend (dashboard) to create a new page.
- While in the dashboard, navigate your cursor to "Pages". Hovering over "Pages" will bring up a menu, where you can then click on "Add New". (Alternately, you can click on "Pages" which will then populate all of your pages onto the right side of the dashboard. At the top of this screen, you can select "New Page" button.)

- Enter your page title at the top of the page. When you create your new page, the cursor will automatically position itself at the page title. As you title the page, your url (slug) is created. Depending on your particular design and styling, your page title may or may not appear in all caps. Either way, make sure you do not actually type the title in all caps. This will be very hard on e-readers, as they read all caps as individual letters. You can check to make sure that it is not in all caps, when you save the page, and view the page title in the dashboard > pages.

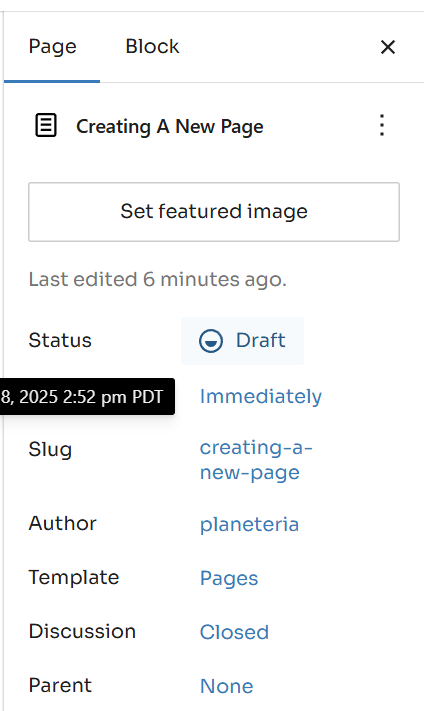
- Set your parent page. Setting your parent page is imperative for your breadcrumbs to work. Although you can set this at any time, and even from the page dashboard, we recommend setting it now, during the page creation workflow. Look for the parent button on the right hand side of the page. Click on none, and begin typing the page name. It will auto populate with page names. If your parent is not a page but a post type, you may need to set that differently. For example: the parent page is a department. You will find the ability to add a department as a parent page below the SEO box, further down the page.
- Add content to the page. For in-depth information on adding content, including block selection, please refer to the Pagebuilder folder. Technically you do not have to add content during the page creation.
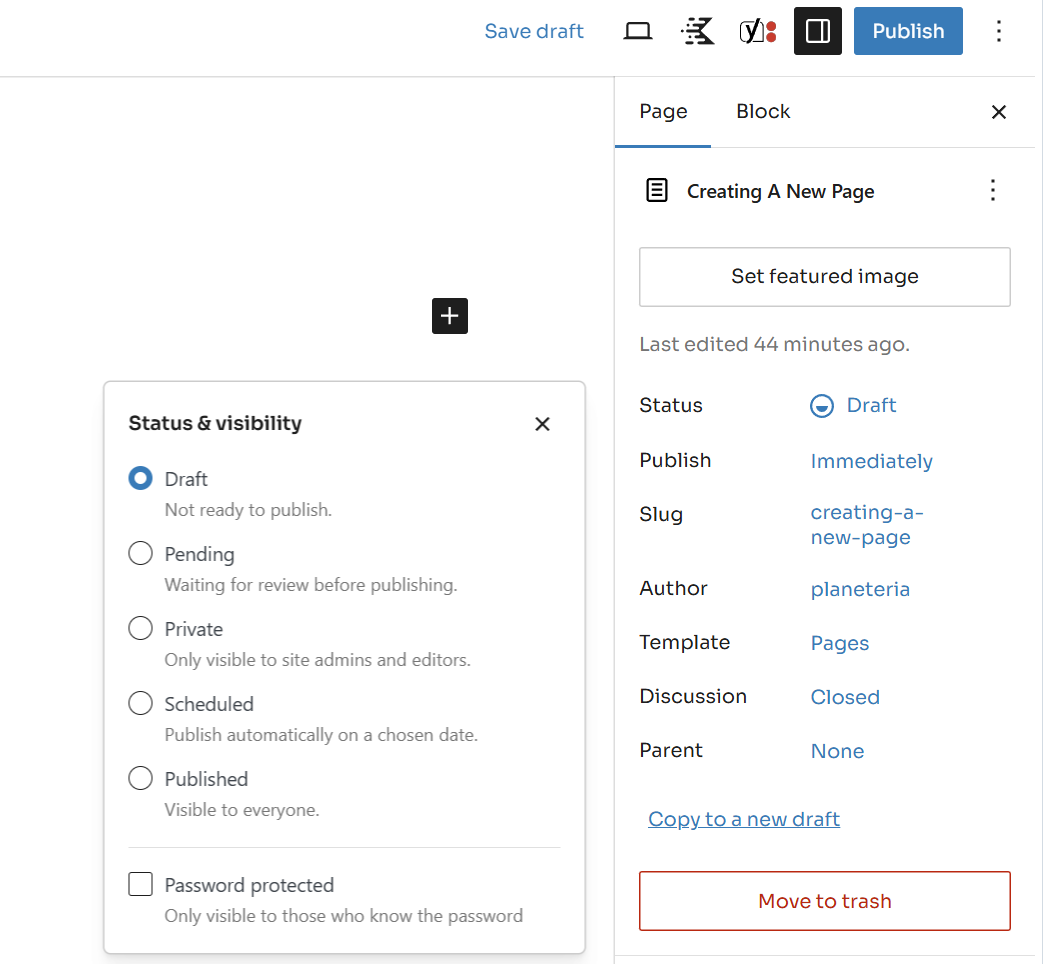
- Set your page status. You will find the status field in the right hand sidebar. Clicking on "Status" will bring up a window in which you are able to make a selection.
- Draft: Set your page to draft if you have not yet completed working on the page, but wish to save your progress. You can also unpublish a page and save for later, by changing the status to draft.
- Pending: Set your page to pending if it needs review before publishing.
- Private: Set the page to private if it is a page that should only be accessible to specific people. You are able to set a password, when you set the page to private.
- Scheduled: Set the page to scheduled if the page is complete, and you would like it to automatically publish on a certain date and time.
- Published: You can publish the page either by selecting that radio button- or simply by clicking the "Publish" button at the top right hand of the page.
- Add a featured image. Not all pages need a featured image. This will depend variables such as: the page type, and your design. If your page is one which will show up in a directory, it likely should have an image. To add an image, click on the "Featured Image" button at the top of the right hand sidebar. Refer to your design to verify the image orientation. For square images, aim for an image at least 600x600 pixels. For a landscape image, 600 x 400 pixels.
Related Articles:
- User Roles in WordPress (Introduction to WordPress)
- Post Approval Process (Introduction to WordPress)
- Template vs. Page Builder (Introduction to WordPress)
- Creating a News Post (Introduction to WordPress)
Was this article helpful?
That’s Great!
Thank you for your feedback
Sorry! We couldn't be helpful
Thank you for your feedback
Feedback sent
We appreciate your effort and will try to fix the article